Orbital decompression
What you should know about Orbital Decompression Surgery
Lateral orbital wall decompression surgery is the procedure of choice in those patients that do not have double vision. It is the only technique that can reposition the eyes without the risk of new onset or worsening double vision. The procedure is performed through an upper eyelid skin crease incision and involves removing the back part of the bony lateral wall of the eye socket allowing the eyeball to move back. The same incision is usually used to remove the excess fat around the eyes and to correct the eyelid retraction. In most cases this procedure is sufficient to regain the normal eye appearance.
When the eyeball needs to be retroplaced (to go back) more than 4 mm in order to achieve the desired functional and cosmetic result, a Balanced Decompression is performed. This procedure has a risk (10-20%) of postoperative double vision but can allow the eye to move back up to 8 mm. During this procedure, the lateral and the medial walls are removed together with the swollen fat from behind the eye. In the small minority of cases where double vision does appear or worsens after the procedure, a second surgery to realign the eyes, called strabismus surgery, is performed 4-6 months later.
Surgery is performed under general anesthesia and takes about an hour. The patient returns home a couple of hours later. Only one eye can be operated at a time, the second eye being operated on 1-2 weeks later.
A tight patch is typically placed over the eye for the first 24 hours to decrease bruising and swelling. After patch removal, an antibiotic ointment is placed inside the eye and on the incision for a couple of weeks. The stitches dissolve and don’t have to be removed. Bruising and swelling is normal for the first couple of weeks.
-
Practical information:
Length of surgery: 1-2 hours
Anesthesia: general anesthesia
Hospitalization: ambulatory (day surgery)
Downtime: 1-2 weeks
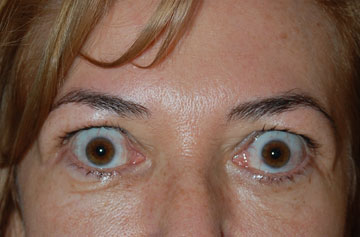
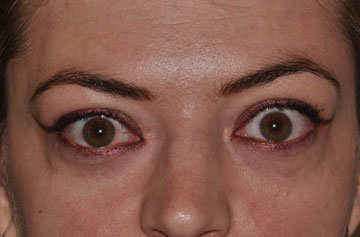
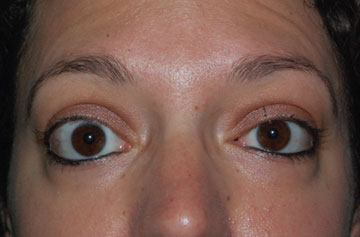
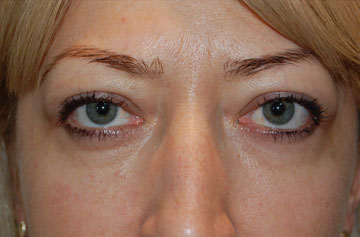
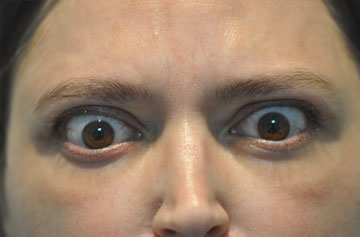
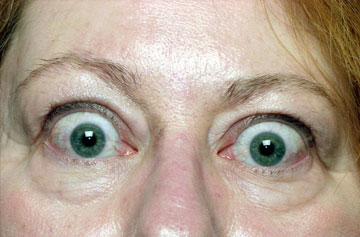
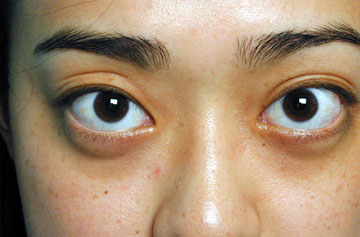
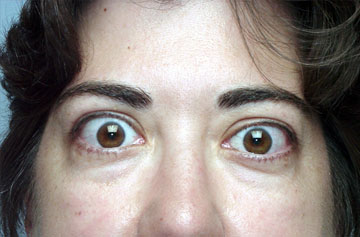
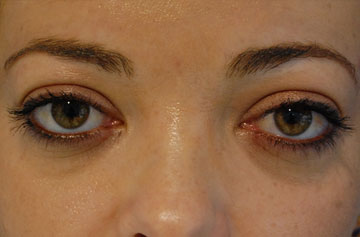
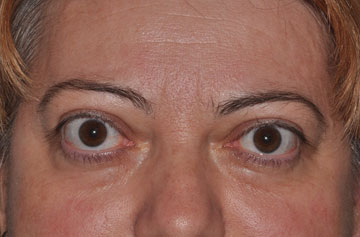
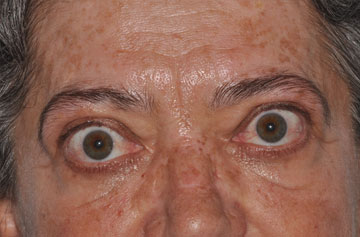
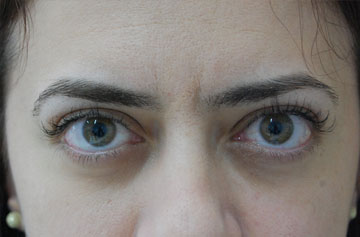
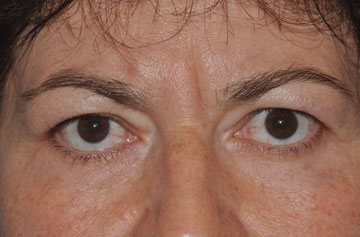
Before & After
Before
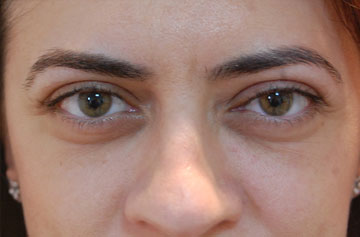
After
Before
After
Before
After
Before
After
Before
After
Before
After

Before
After
Before
After
Before
After
Before
After
Before
After

Before
After

Before
After
Before
After
Before
After
Before
After
Before
After
Before
After
